PROJECT VIRGIN
HOW TO BUILD CAMPER VAN
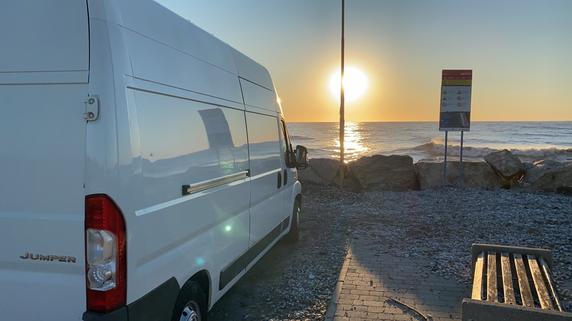
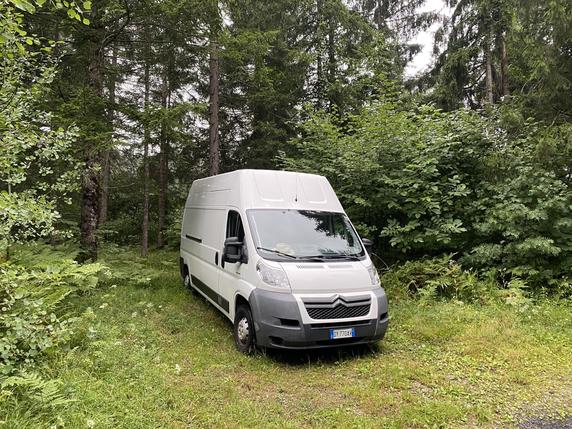
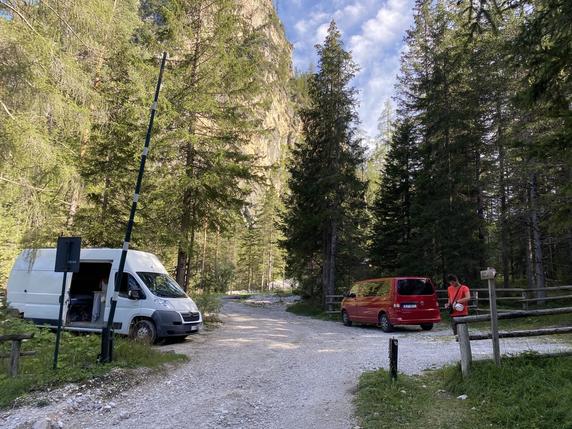
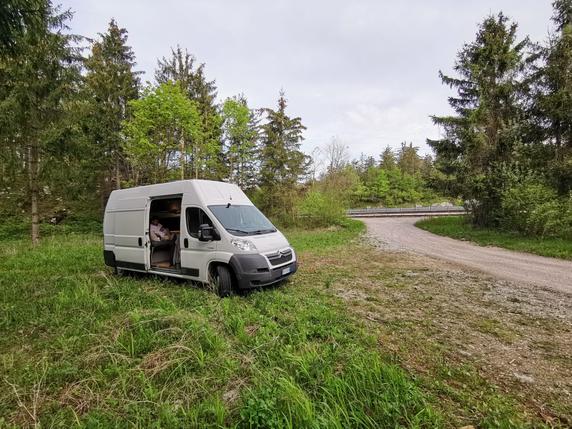
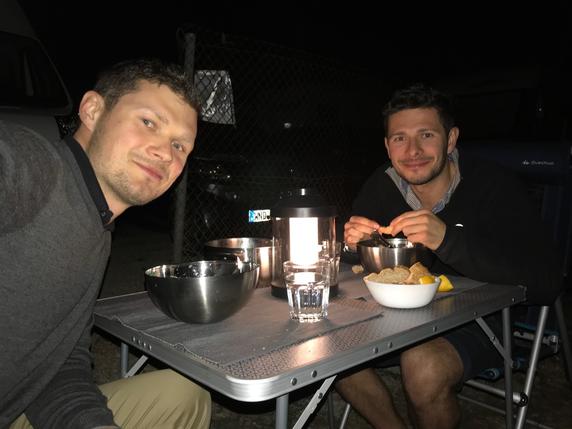
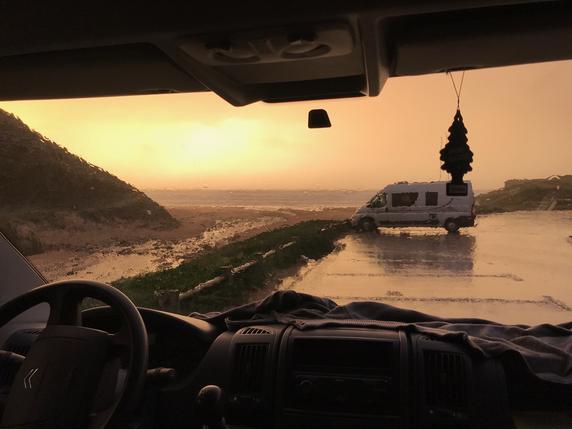
First time learning experience. Built on the public parking.
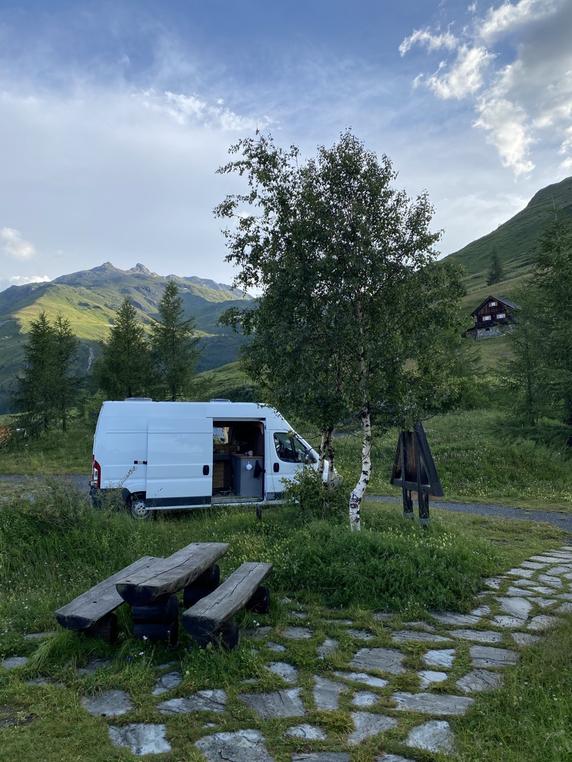
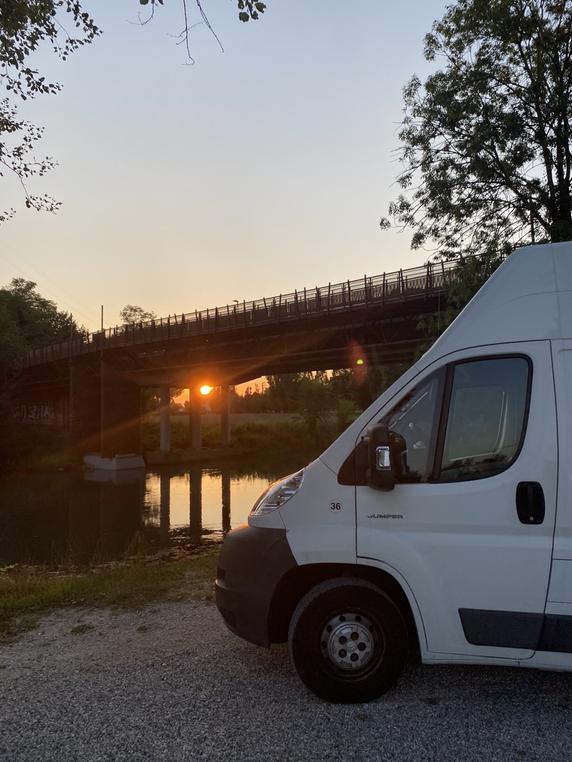
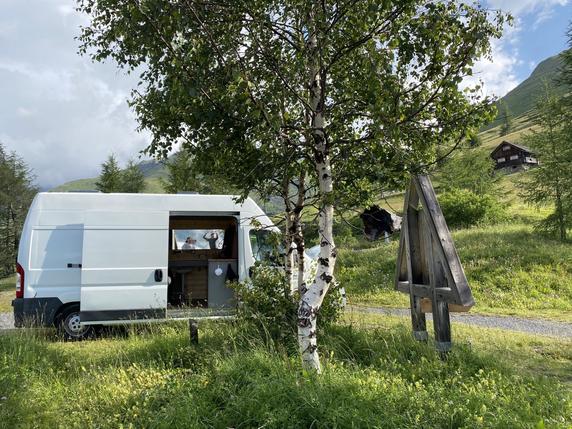
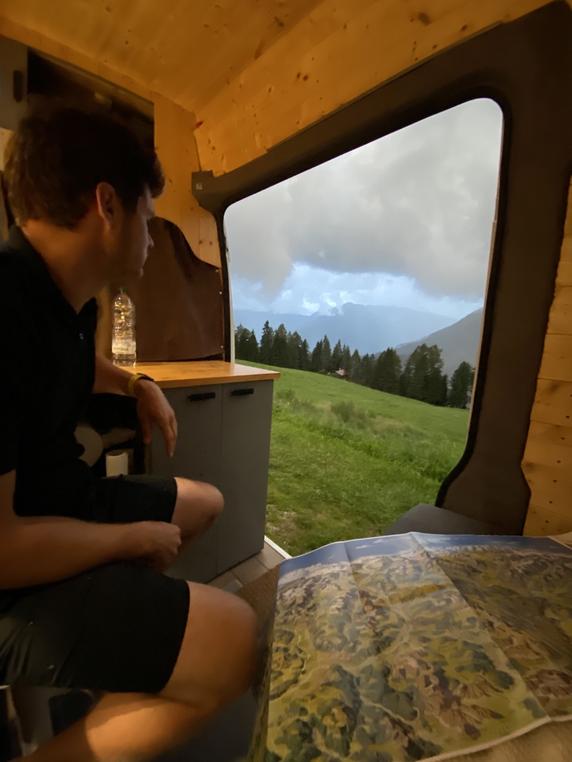
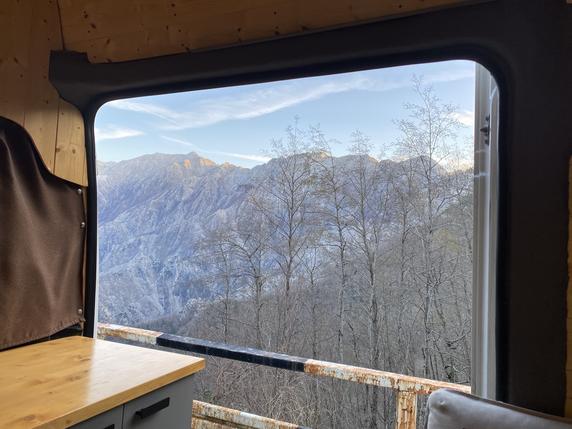
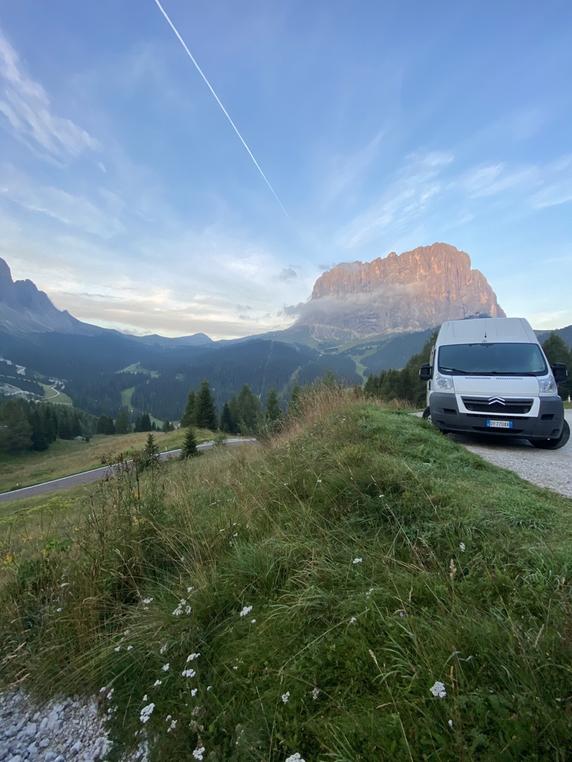
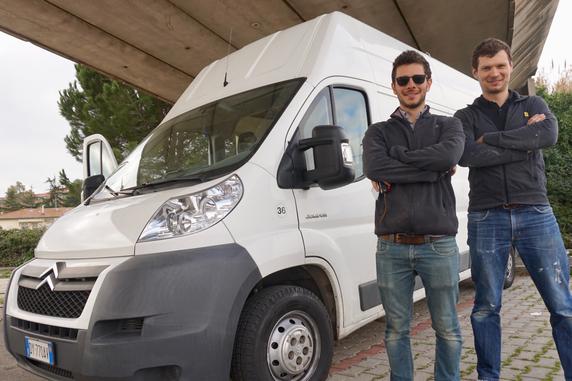
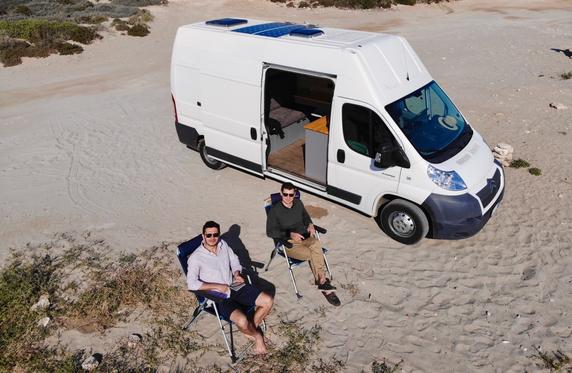
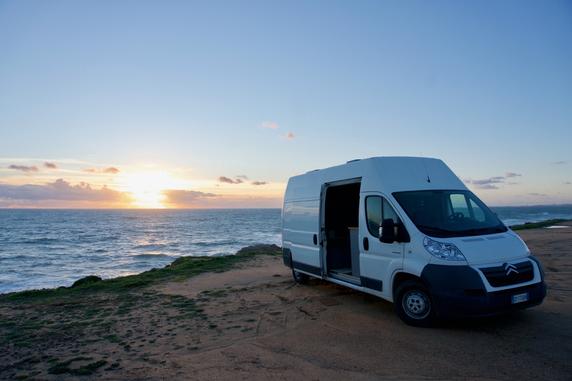
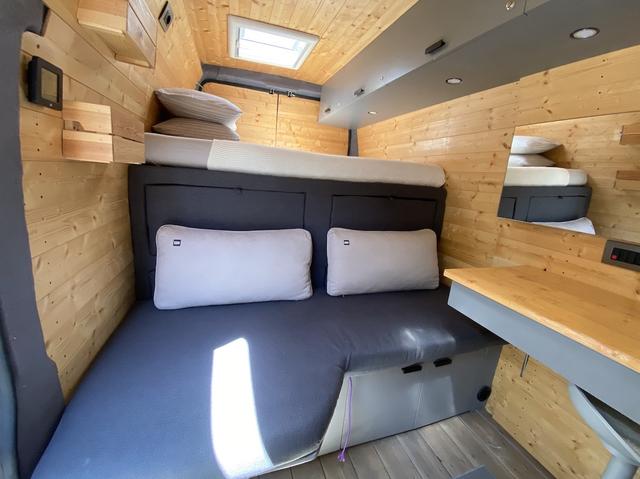
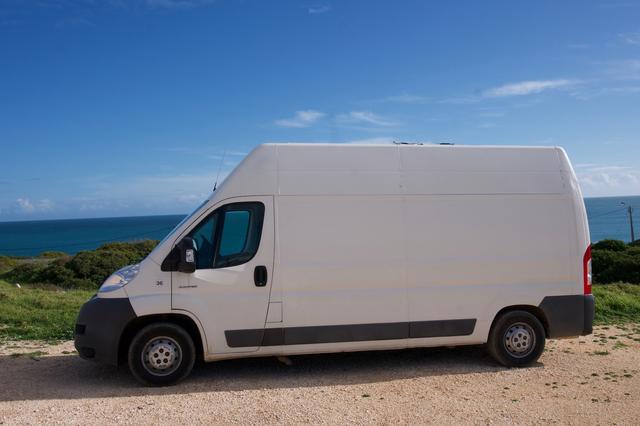
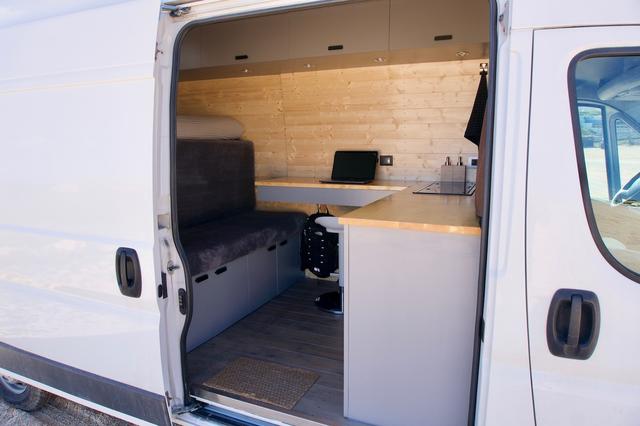
We are glad to introduce our brand new self-built camper. After hard work and long hours, we are happy with the result. This van gives great travel autonomy along with luxury chalet comfort. This was our first built and we still had long way for improvement at that stage, basically learning by doing and experimenting.
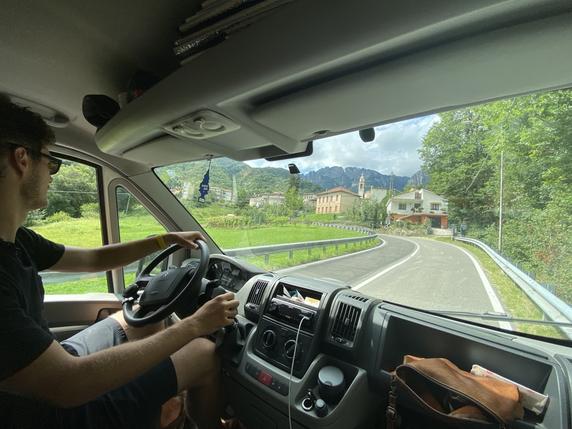
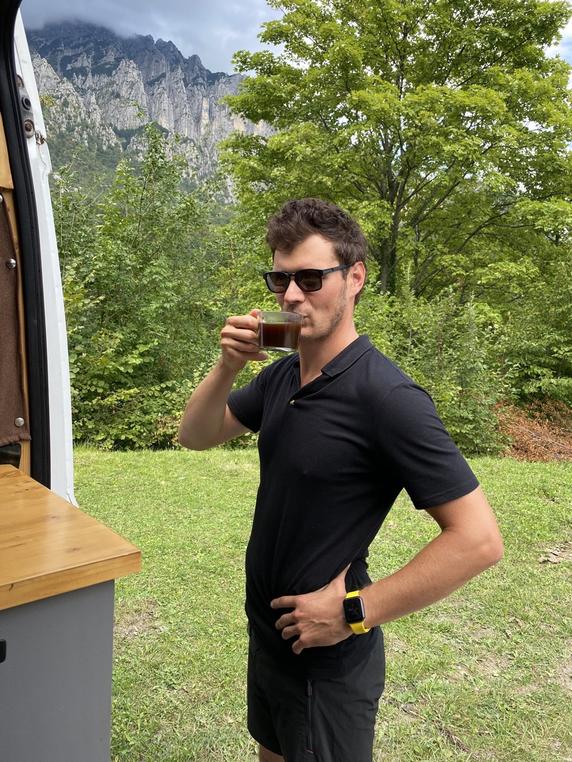
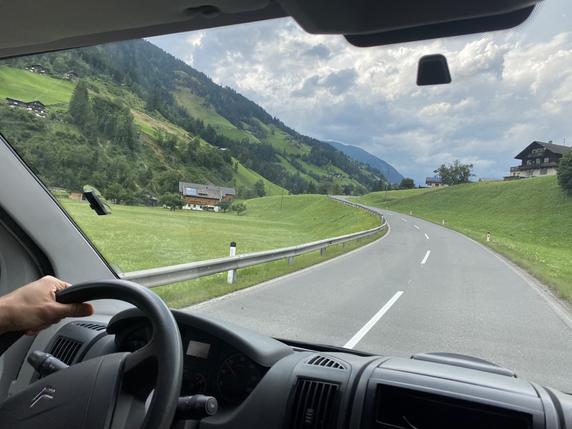
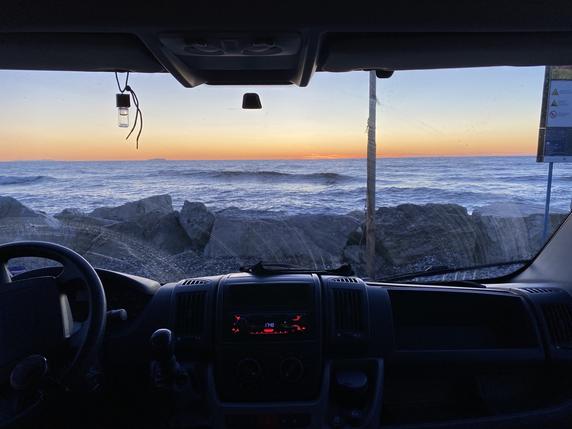
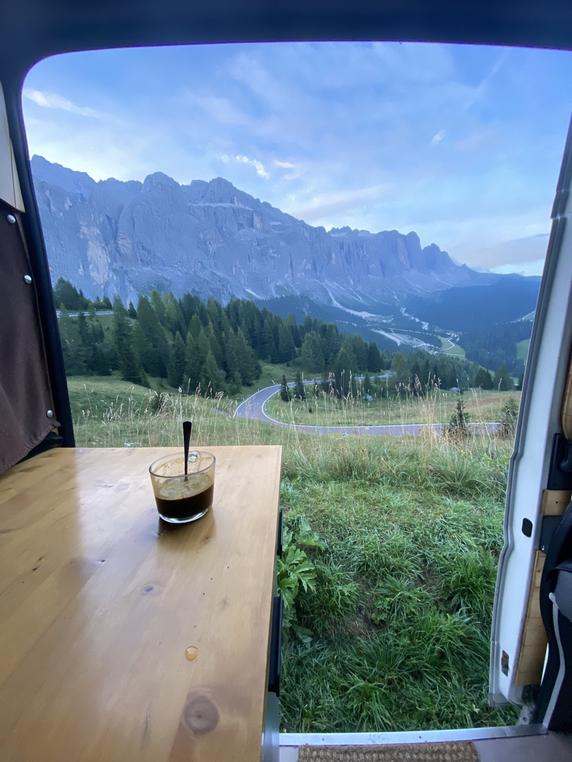
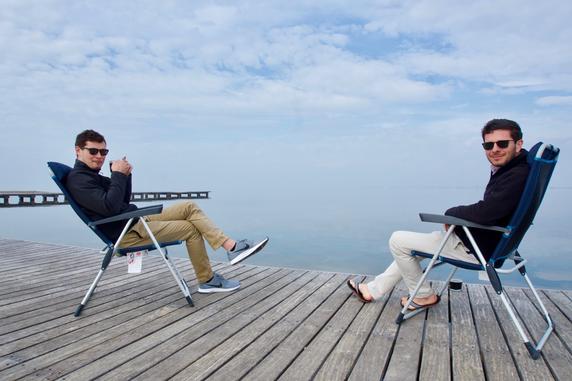
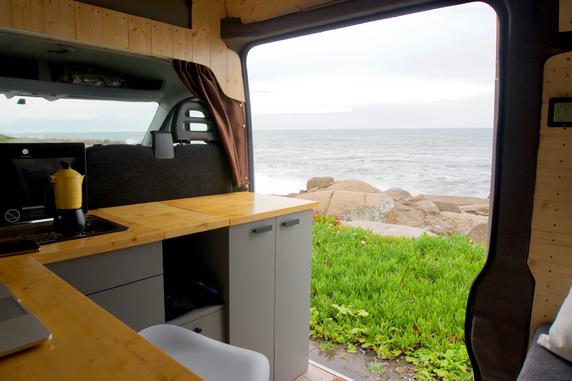
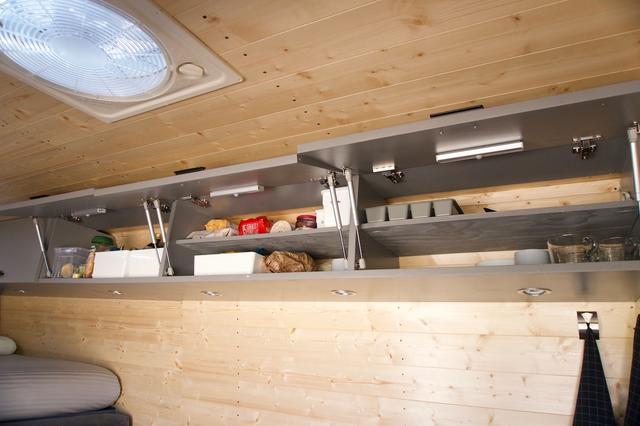
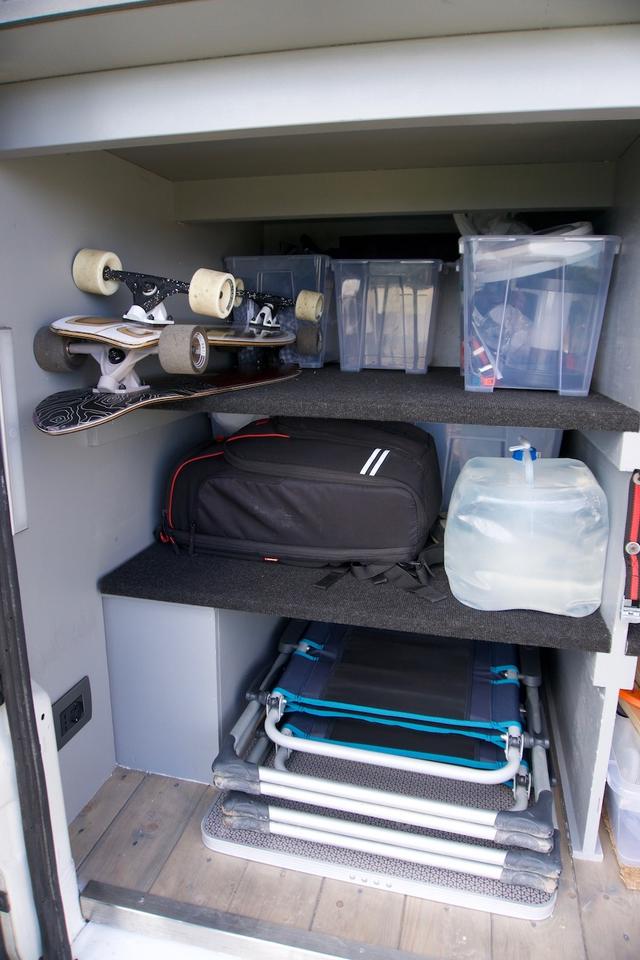
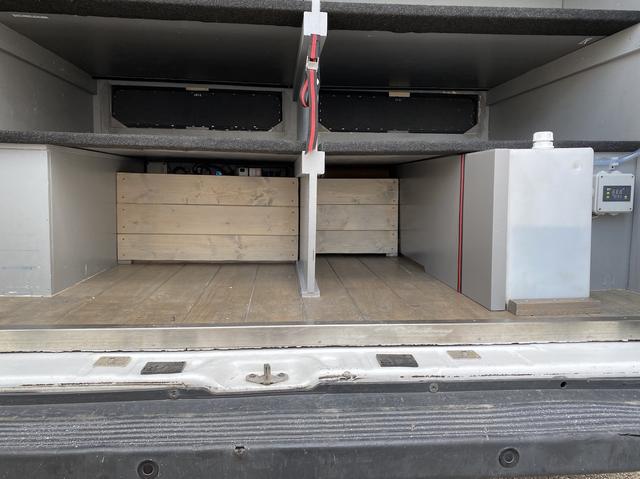
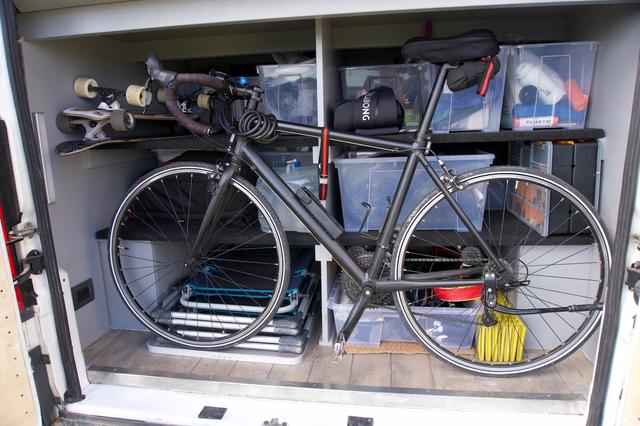
Designed for all possible activities and adventures. Lack of windows on the sides makes it convenient city apartment but primary it was designed for traveling and adventure lifestyle. It has a huge amount of storage for your gear (it can even fit a full-size bicycle on the back in the trunk). You can be autonomous for several weeks (or till your next grocery shopping and water refill).
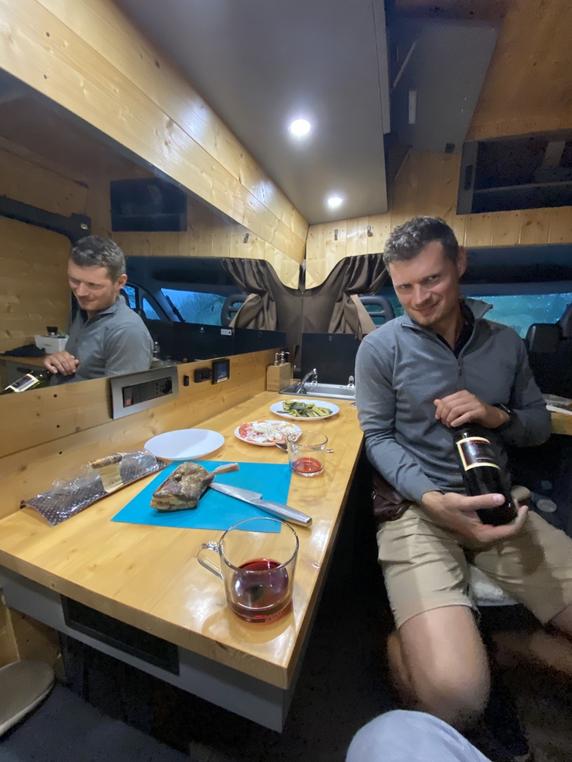
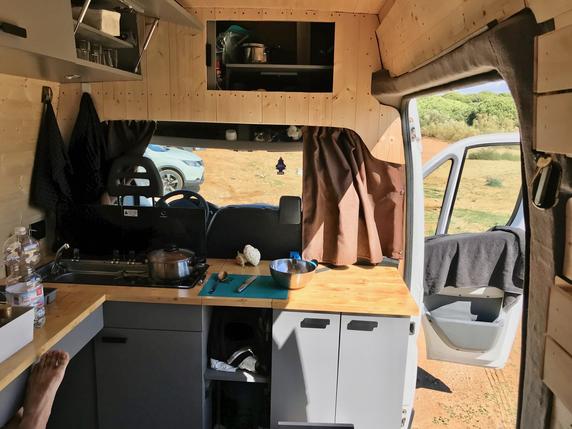
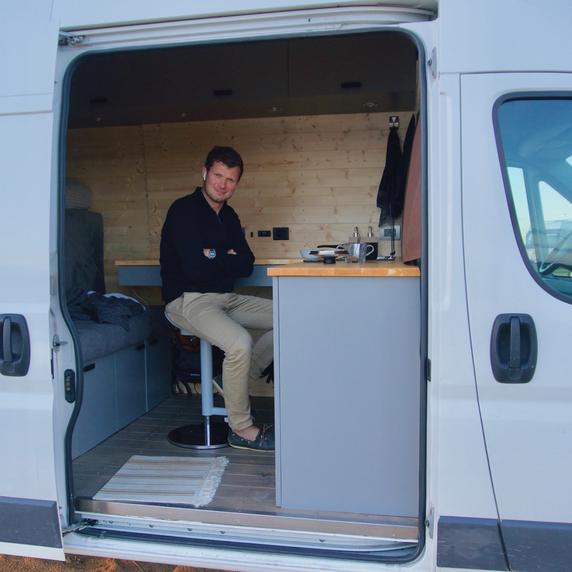
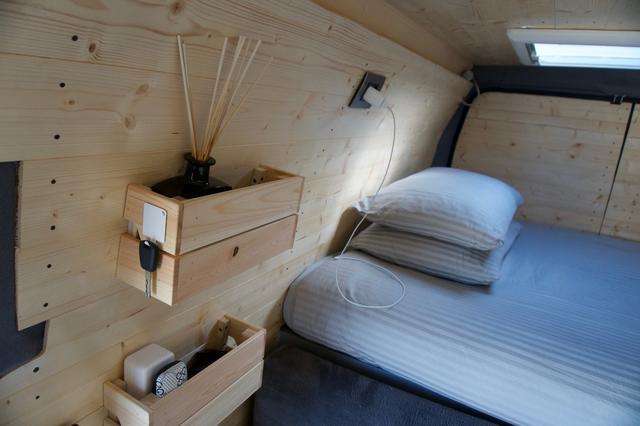
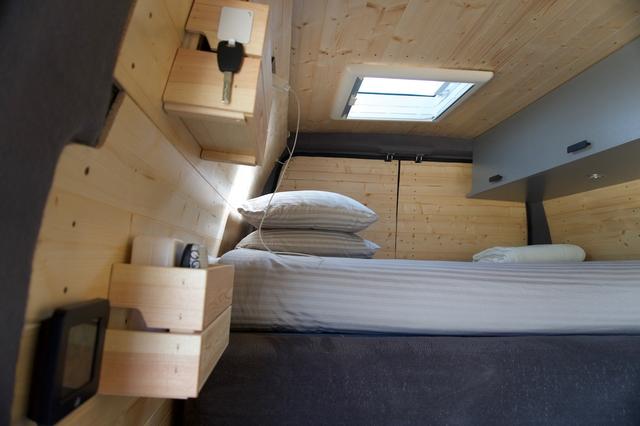
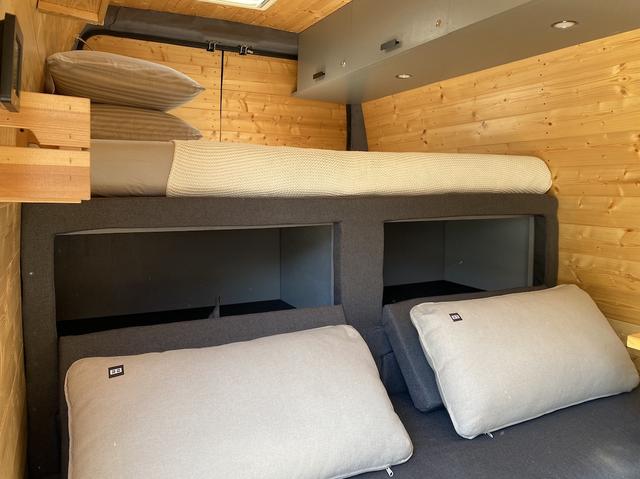
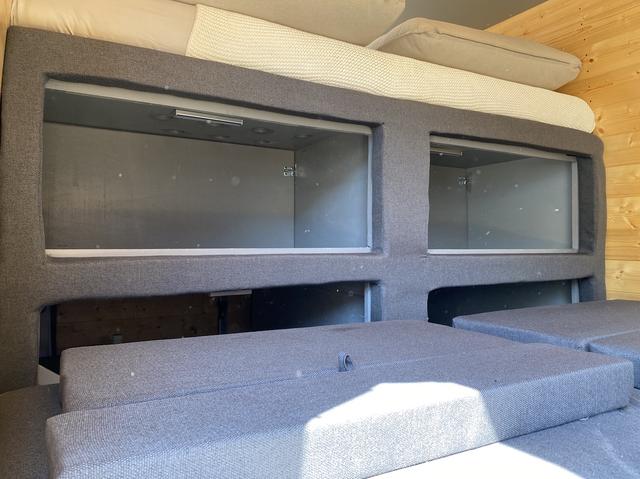
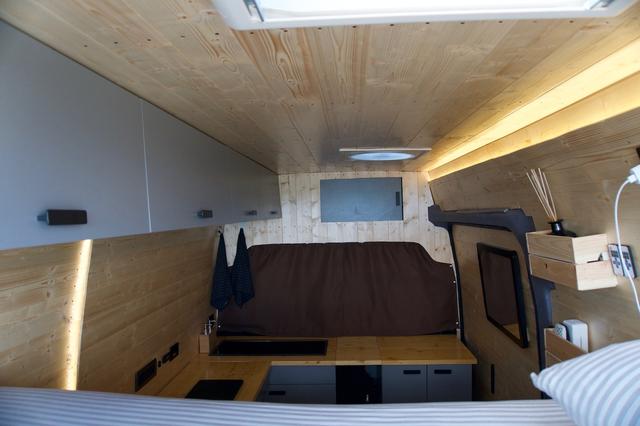
It’s basically a mini studio apartment where you have a 140 cm large bed. Second bed is the sofa which is about 70cm wide.
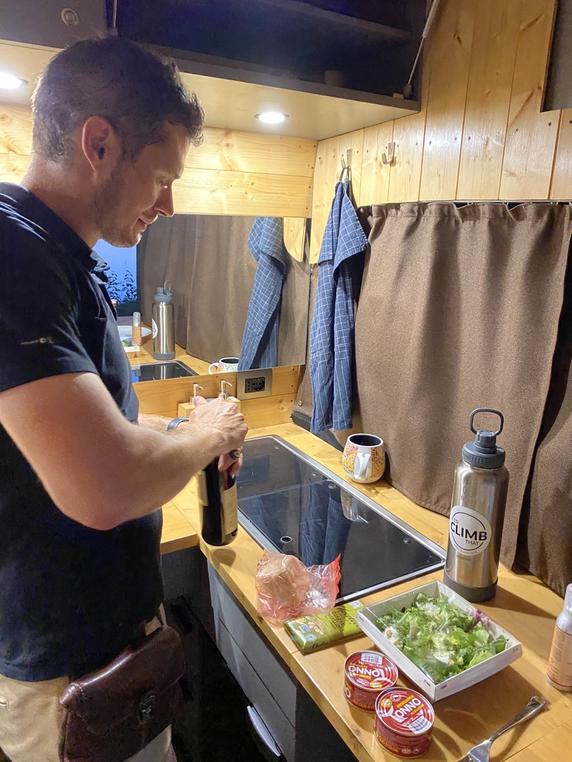
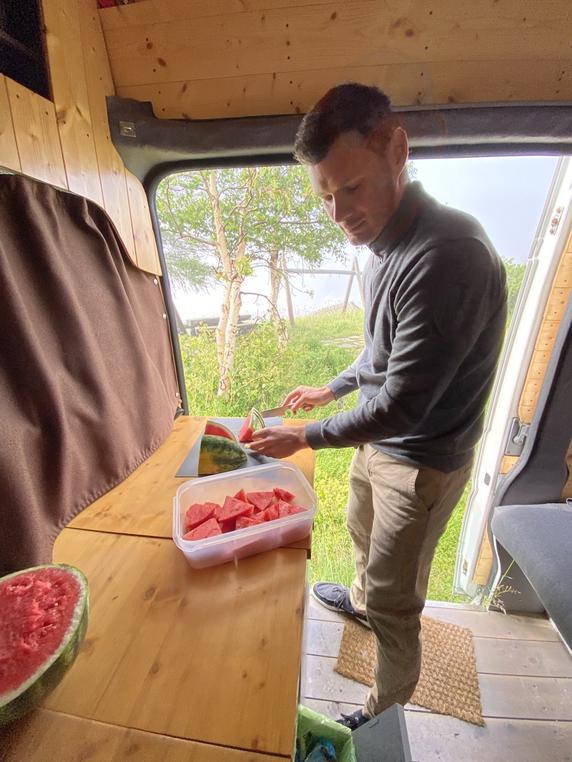
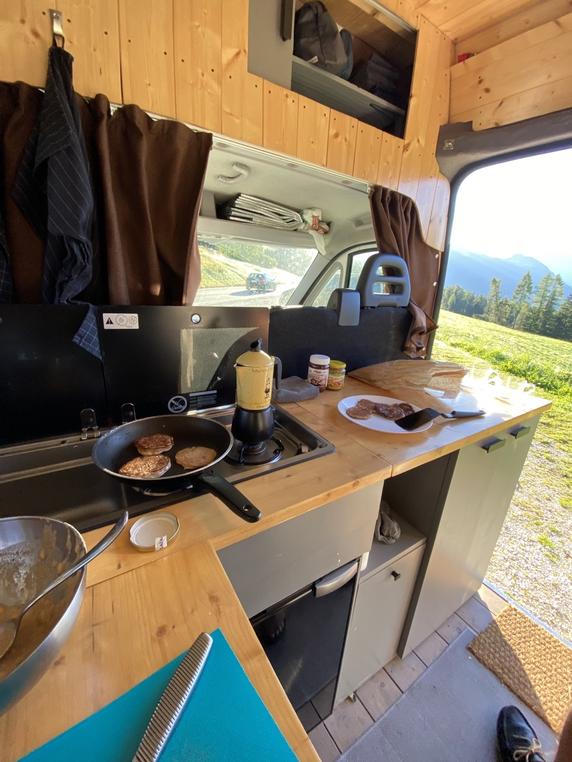
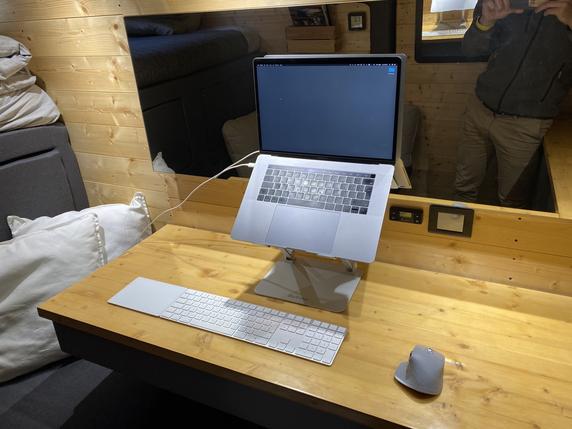
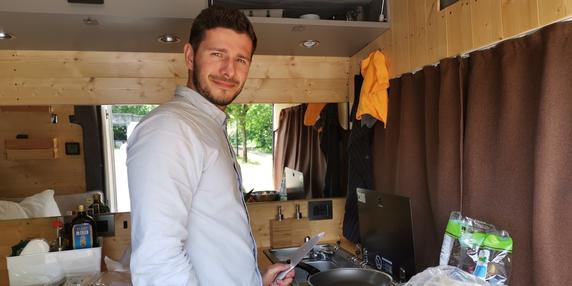
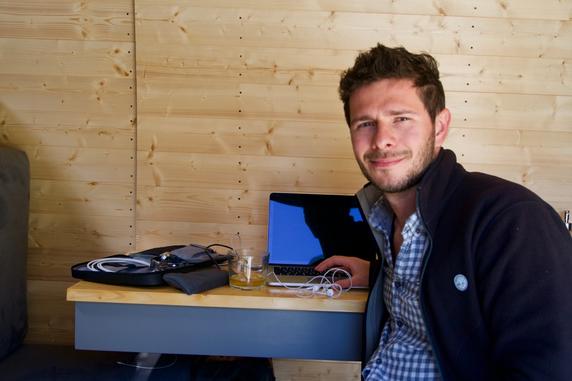
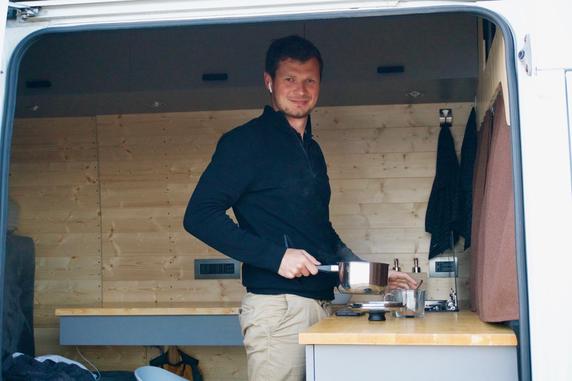
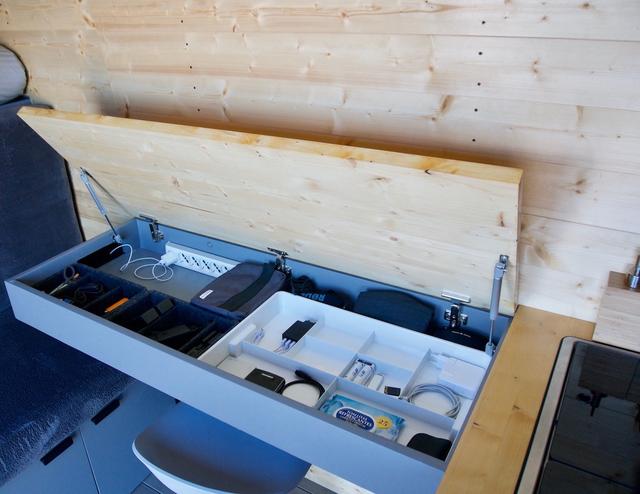
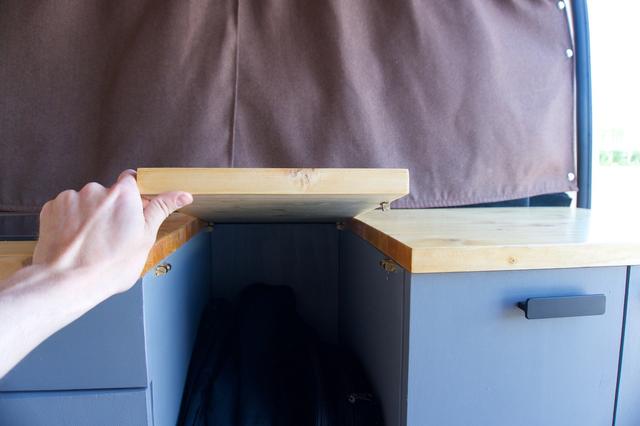
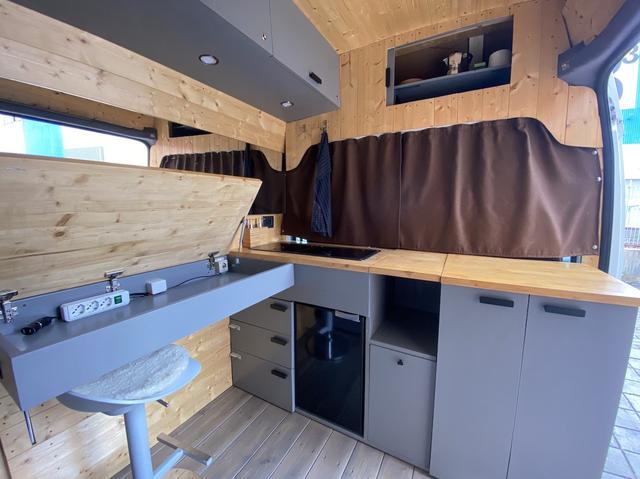
50cmx110cm openable desk and huge cooking area.
Van is designed for an option of making a passage to the front seats (in case they will be need). It can be easily modified to carry surfboards inside of the van, so you don’t have to keep any expensive gear exposed outside.
It took us around 2 months to complete this project and we can definitely say that it was a great experience for us.
TECHNICAL DETAILS (before modifications)
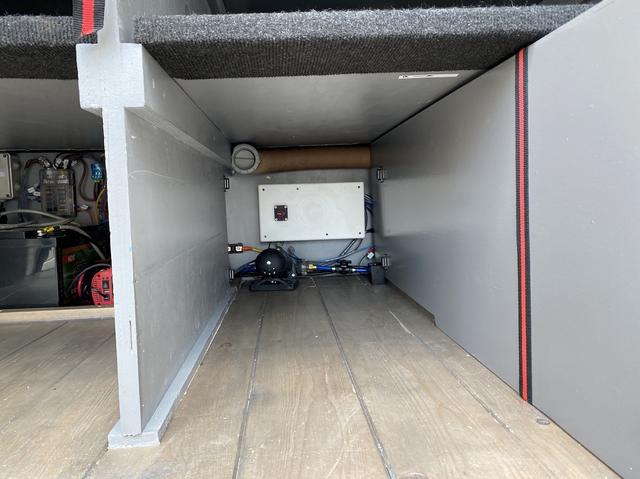
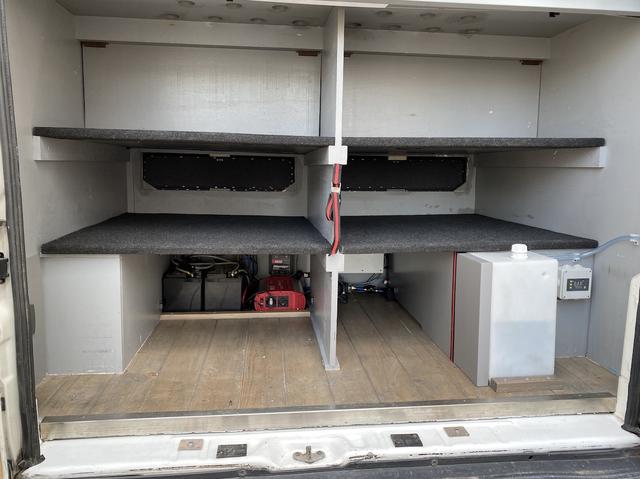
Freshwater: 90 Litres water tank in the trunk. Plus there is plenty of space for few spare canisters for remote extended trips
Grey water: 60 Liters tank is installed under the van with easy discharge handle.
Hot water: Not installed on this van.
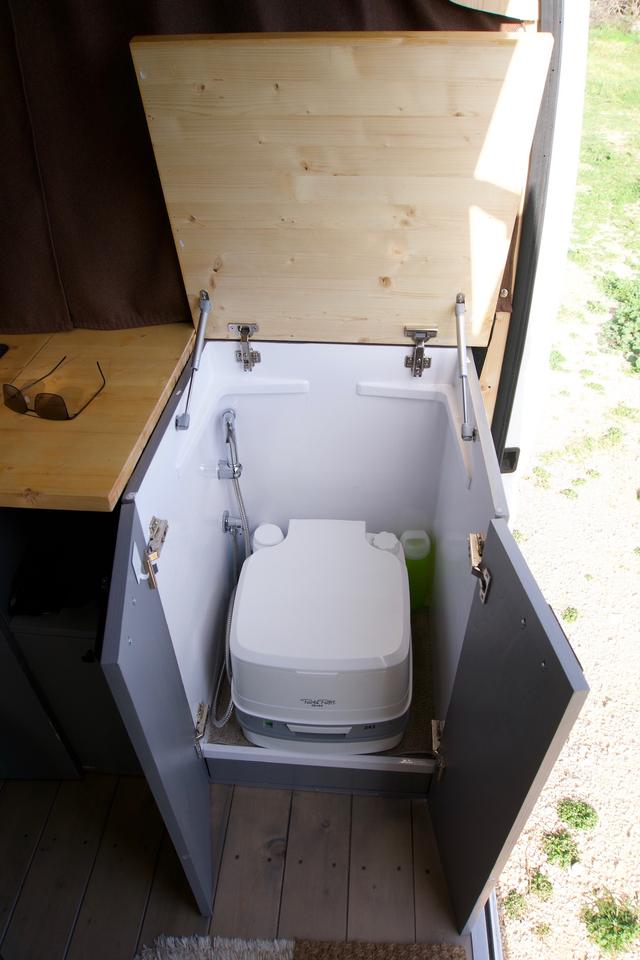
Shower: integrated into the furniture on the entrance with 100% waterproof epoxy paint. Same space is used also for the portable toilet.
Heating: Eberspacher Airtronic D2 heater is installed onboard along with complete isolation of the van prior to build. Consuming from 100 to 280 ml of Diesel per hour.
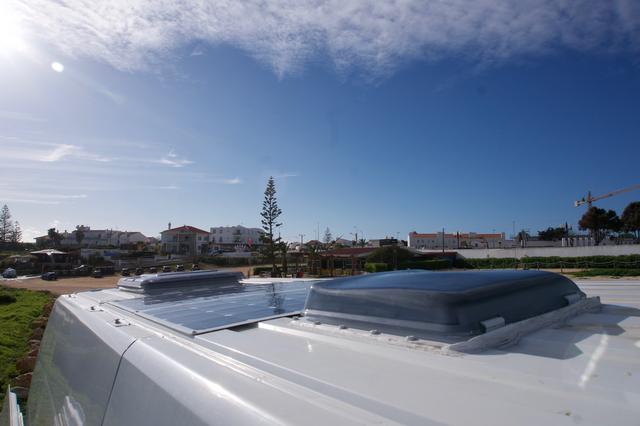
Solar Panels: 2 x140W NDS solar panels.
Batteries: 2x100aH NDS Gel batteries
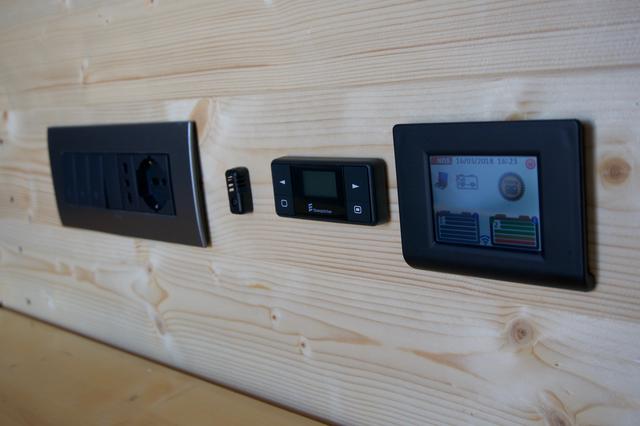
Battery management: NDS iManager onboard.
220V: NDS 1500W inverter
Fridge: 29 Liters Mobicool 12V fridge
Water pump: Fiamma aqua 8
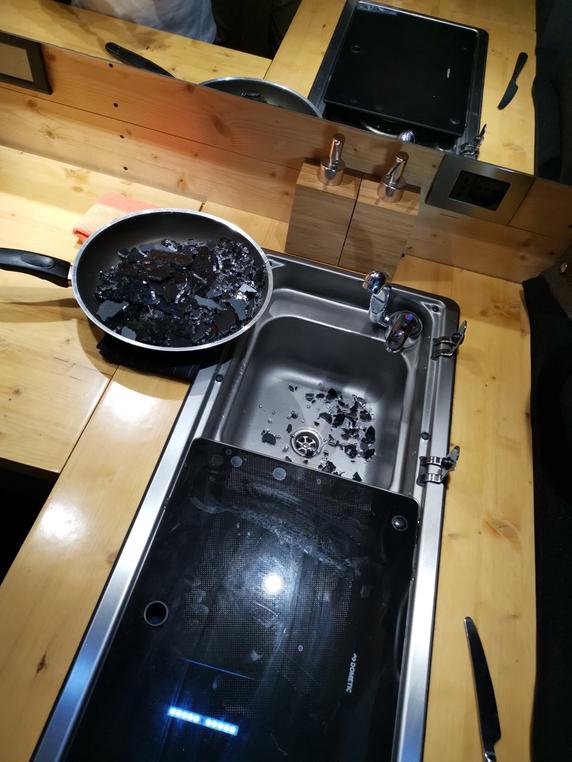
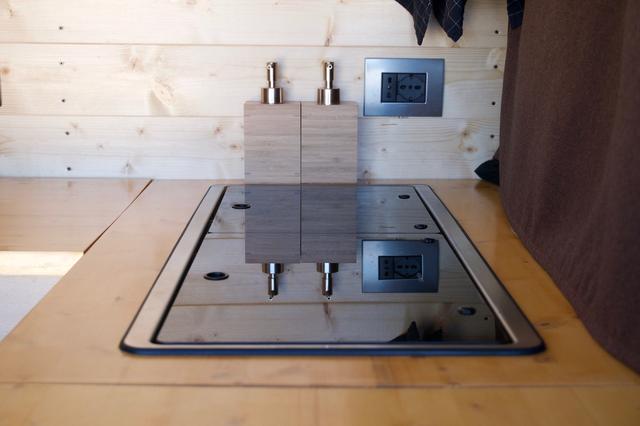
Kitchen stove and tap from Dometic MO 9722L and TAP AC 539
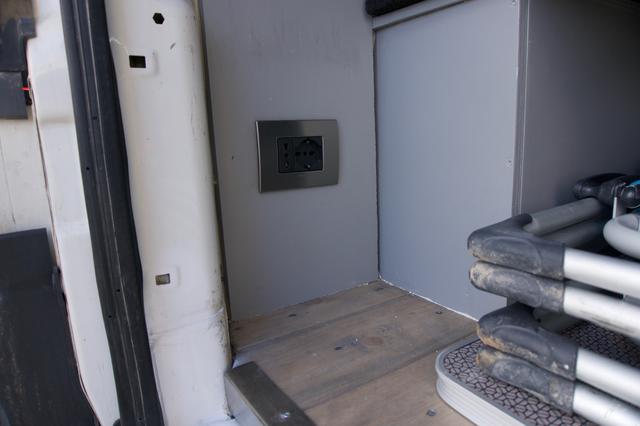
Trunk size: 140cm large x 200cm x 130 cm high approximately.
Lights: 2 LED stripes and 5 led lamps to create a strong daylight (great for cooking or for work).
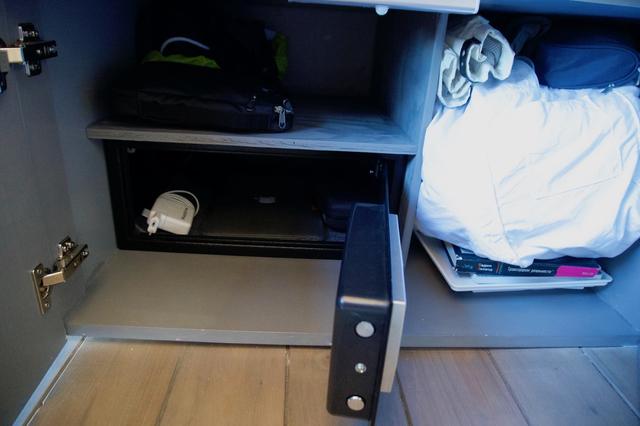
Safe box: attached to the van with 4 metal screws which are only removable from inside of the safe box.
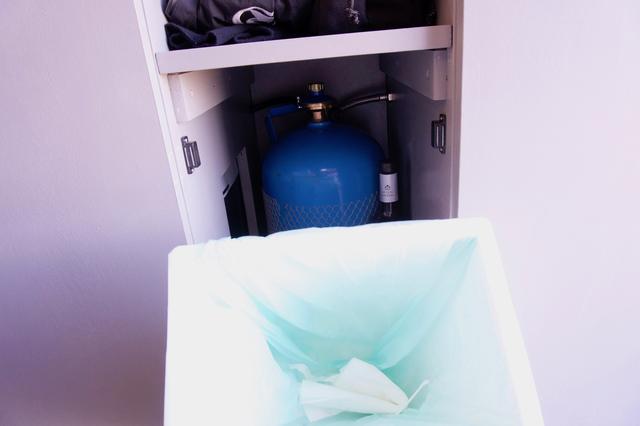
Gas: 5L Campingaz.
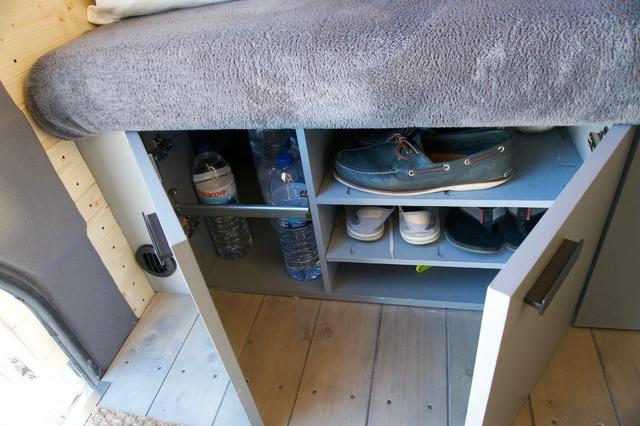
Shoe cupboard: up to 12 pairs of shoes.
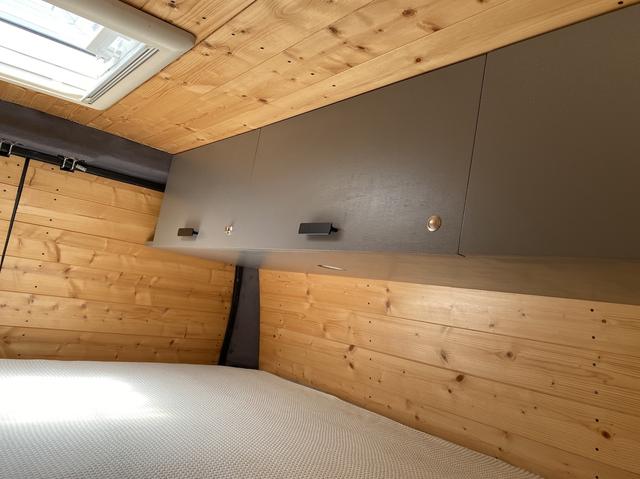
Hatches: 40x40cm with ventilator and 50x50cm above the bed.
WEIGHT: 3130 kg with 90 liters of water, full fuel tank and everything inside.
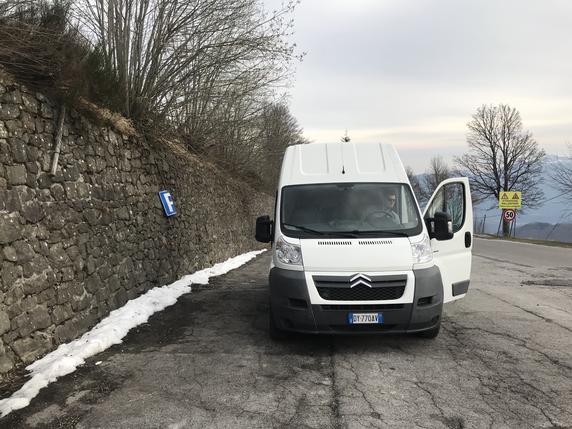
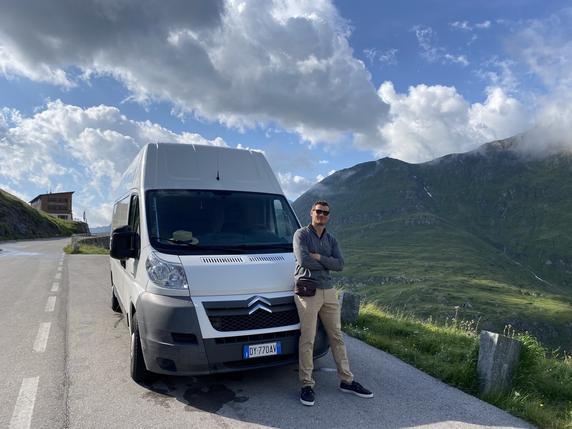
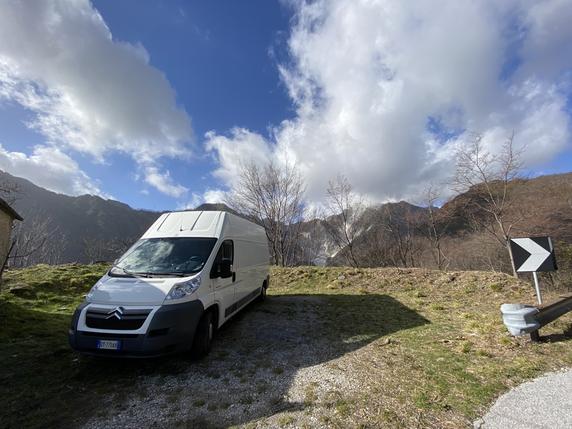
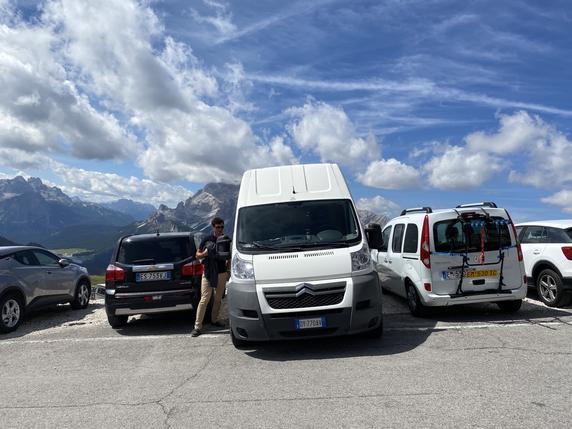
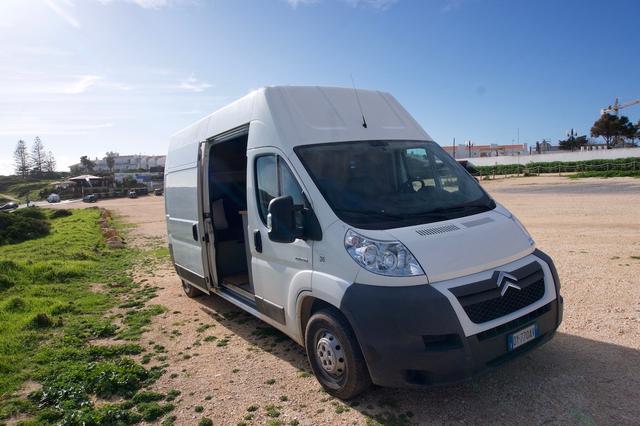
CAR DETAILS: Citroen Jumper L3H3. 599 cm long and about 225 cm high inside of the van.
MISTAKES? YE..! FEEDBACK AFTER USE...
Living in a van for a few months makes you realise a lot
After three months of constant use, we are ready to introduce feedback video about an experience of using the van. There are a lot thing we are happy with but at the same time there are few things we would love or we will change/modify in the future.
In this video we will follow construction process and will leave our thoughts about insulation, shower, table, water and heating systems, storage spaces and much more. We hope that it’s going to be useful for you!
FIRST BUILD IS USUALLY MORE EXPENSIVE...
Everything costs money...
Building a self Build camper van for the first time is not an easy challenge. It can become super expensive really fast if you don’t track your expenses. You will make some mistakes and will need to buy some of the things twice.
Our van was designed as a mini video studio on the wheels, so having quality electricity supply was a priority, and unfortunately, it’s not cheap.
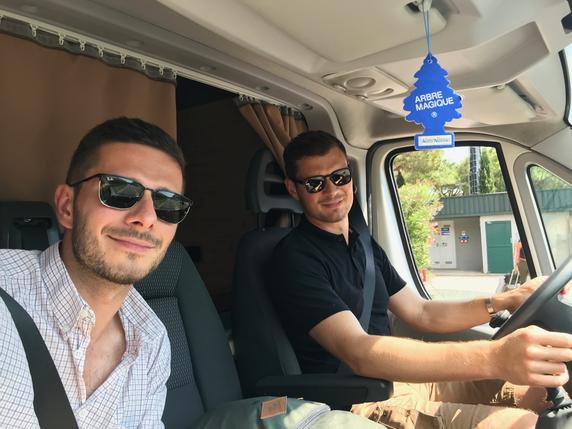
Heating is not crucial, but it definitely makes your life onboard much more comfortable and enjoyable during winter months or just in the cold or rainy weather. First we weren't sure if it was necessary for tough cold-resistant brothers but at the end we both agreed that it was a great investment. If you have extra money maybe it worth investing, as once you have all walls closed - it will be more complicated to install.
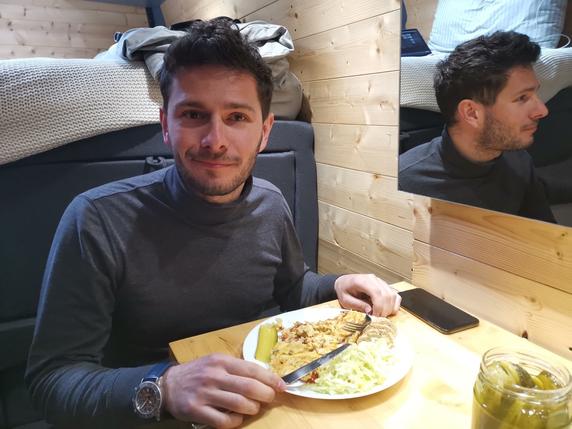
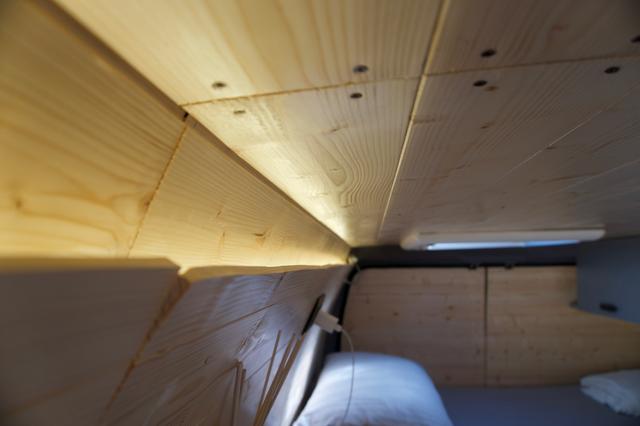
During the build process, we realize that everything costs money, especially if you want to make something a bit nicer or higher quality. We wanted to create a nice interior so we would want to spend time in the van and actually sleeping in the van feels nicer than sleeping at home, as wooden walls give you a feeling of a mountain chalet ))
On some things we saved and on other overpaid - most probably it will happen also to you
We were scrupulously writing down all the expenses during the building process: from the most valuable pieces like solar panels or van itself to the smallest screws. And now it’s time to share it cause sharing is caring!
A detailed shopping list is crucial as it will save you time. Please check the links below to our shopping list, so you can download it and use it as your checklist if you wish.
To summarise: we would like to introduce our “money talk” video where we will basically go through all our expenses and will try to analyze where could we save a couple of bucks (Euros in our case).
IMPROVEMENTS
After a year from the build we decided to bring our van to the new level and to do refit.
It was our first experience with the camper vans over year ago so during our build we were basically guessing what we would need and how we would use the van. Now we know precisely and we embodied some modification and new ideas to make our stay more comfortable and practical.
The biggest and most notable modifications during our refit were sofa, safety and water system modifications.
More comfortable and larger lounge area will definitely increase quality of sleep for Andriy and will be great place to chill out (Maksym already tested and confirmed it). Safety: now we can lock all the doors manually by using quite simple but very functional tools - pins. So now we can have peace of mind while hiking or exploring new places
New water tank helped us to increase water capacity in the van and emptied some space for new a fridge and drawers.
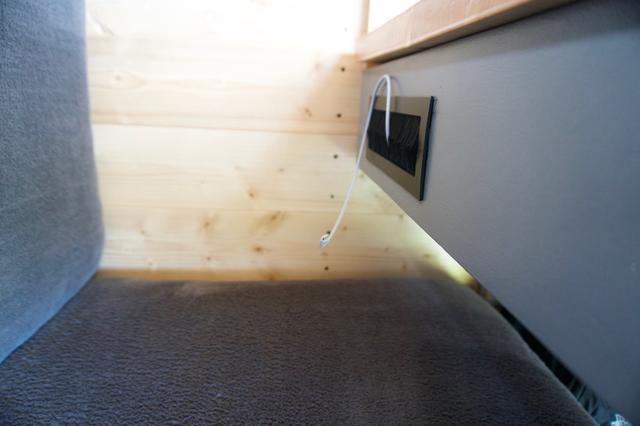
We did a lot of minor upgrades that are making big difference for staying onboard as well. Just to mention a few: rain protection cover, 12v phone chargers, garbage bin.
We also checked situation with mold in the van by opening one of the ceiling panels. If you are curious about result, go to the dedicated section.
FINAL RESULT
TRAVELING AROUND
